The powders produced are subjected to all sorts of tests described below by technical engineers working in our quality control department.
Reactivity
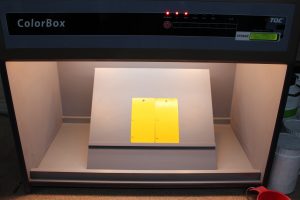
We perform gel time to indicates the relative reactivity of a powder coating formulation at a specific temperature.
The reactivity is important for the flow out, the outlook of the film and also the storage stability.
Particle size distribution
Particle size distribution of the powder coatings is the most important factor for the product performance. It affects many base properties critical for the application of the powder coat such as fluidization, blowing out of box, back ionization, poor charging, transfer efficiency, Faraday cage penetration, and film smoothness.
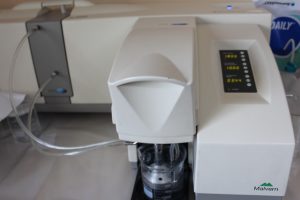
There are many methods are available to determine the particle size distribution of powder coatings. In our laboratory we use the most reliable method laser diffraction with wet measurement and grind the powder in the best particle size distribution which is suitable for the application considered.
Gloss
According to the standards EN ISO 2813,gloss is measured objectively with a gloss meter. The gloss is measured in general under an angle of 60°.
The expected values ;
Glossy 71-100 GLOSS
Semi-Mat 31-70 GLOSS
Mat 0-30 GLOSS
Coating Thickness
According to the standards EN ISO 2808, powder coating film thickness is measured with a micrometer. Coating thickness is measured at five points (min.1 cm2) on the surface and approximately 3 readings are taken at each point. The average of the readings at each point is written as ” the measurement result’’ on the test report. If any of these measurement results is less than 80% of the required value, the result is negative.
The measurement results are evaluated as shown in the examples given below.
Required Value: 60 micron
Example 1. Measured values (micron): 75, 68, 63, 66, 56
Average Measured value: 66 micron
The result is positive. Average measured value is higher than 60 and 80% of 60 micron is 48 and there is no any value smaller than 48.
Example 2. Measured values (micron): 85, 67, 71, 64, 44
Average Measured value: 66 micron
The result is negative. Average measured value is higher than 60 and 80% of 60 micron is 48 but there the value 44 which is smaller than 48.
Cross-cut test (adhesion)
According the standards EN ISO 2409, a cross-cut which means a cross and parallel to each other with a distance of 1 mm is made on the coated metal surface. A standard tape is put on the cross-cut. The cross-cut is valued through the quantity of the detached film after removing the tape.
Evaluation Gt(0) No deformation
Cupping Test
According to the standards EN ISO 1520, in this test a ball with a specific diameter is pushed in the reverse side of the coating (slow deformation). The depth of the ball in the test panel when the coating is cracking, is determined. It define the resistance of coat to cracking.
Flexibility
According to the standards EN ISO 1519,Cylindrical Bend Test is used to determine the elasticity of paint .This is a measure for flexibility, stretching and adhesion of the coating under deformation. There are various rolls in different diameters.If test panels are rotated around cylindrical then the result is the diameter of the roll when no damage on the coating is determined.
Impact
According to the standards EN ISO 6272, deformation of powder coated surface is tested with an impact tester. It works with a mass of 1 kg that falls from different heights on the coated surface (direct : on the coating, indirect : on the reverse side of the coated test panel). The impact is quoted in kg.cm, as no cracking.
Buchholz Hardness
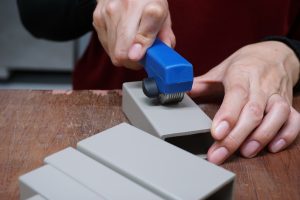
According to the standards EN ISO 2815, the hardness of powder coat can be measured with buchholz in the most reliable way. It consists of a slip-on weight with a sharp-edged metal wheel, and it is positioned on the test panel for a set period of time. The length of the indentation mark in the coating is an indication of the hardness of the surface.
Salt spray test
According to the standards EN ISO 7253 ,three powder coated panels with an cross scratched with 1 mm width are placed in a warm, humid environment and sprayed with salt. Usually this test takes 1000 hour, with checks executed every 200 hour. This test evaluates the degree of protection of the coating to corrosion in a salty environment .The optimum result is at least 16 mm2 corrosion around 10 cm strached cross and on the surface not more than two blister.


